ShopVPS247.com – Providing genuine cheap VPS
Instructions on how to change VPS Win 10 port on Remote Desktop.
Method 1: Change RDP port using Windows Registry
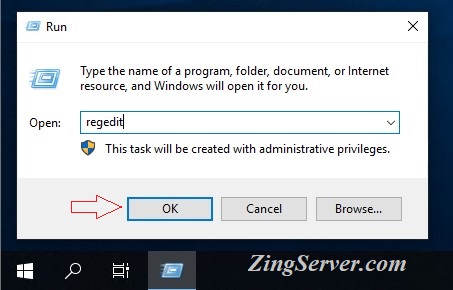
Step 1: Go to Start, select Run (or press Windows key + R). Then type the following command line into the Run dialog box:
Regedit and press OK
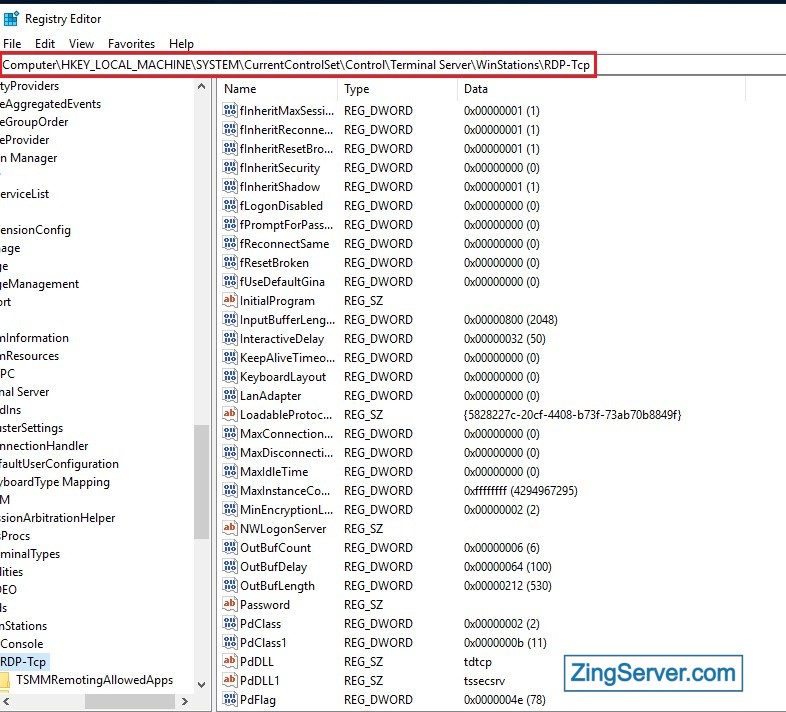
Step 2: Access the registry subkey path as follows:
HKEY_LOCAL_MACHINE\System\CurrentControlSet\Control\Terminal Server\WinStations\RDP-Tcp
To be quick, you can copy the bolded path above and paste it into the Registry Editor path, press Enter and Windows will automatically find the correct address.
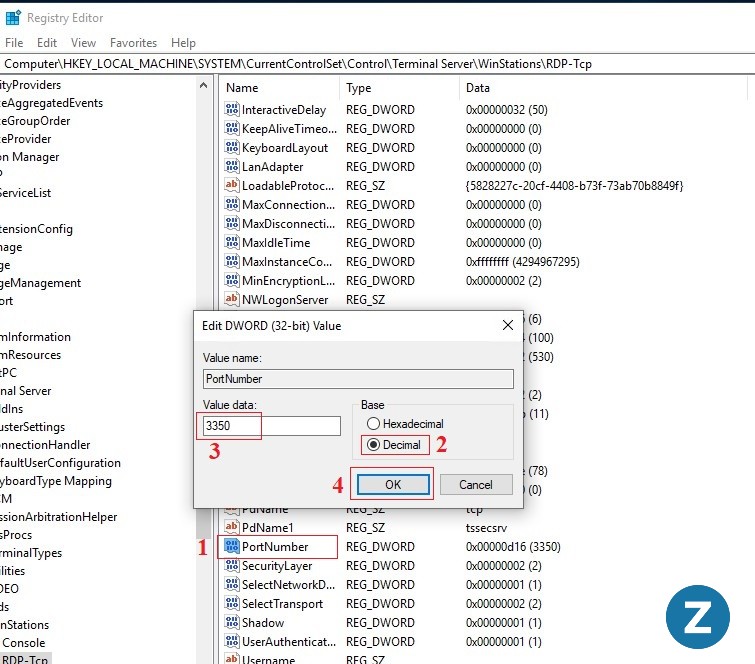
In the RDP-Tcp folder, click PortNumber. After the Edit DWORD (32-bit) Value dialog box appears, select the Decimal option. In the Value data line, enter any new port number (from 1000 to 65000) and click OK to save the changes.
Step 3: Open new port in Windows Firewall

Then you need to restart VPS to complete.
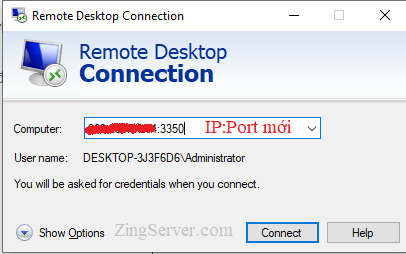
Step 4: Re-access the IP address including old IP + new Port.
Method 2: Change Port using PowerShell in Windows 10 VPS
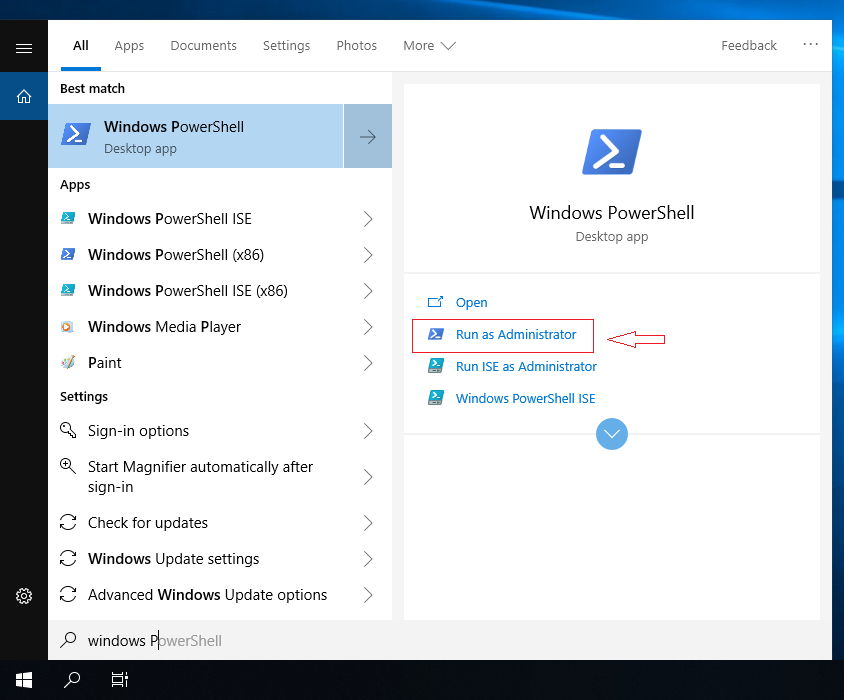
Step 1: Select Start to find PowerShell, open PowerShell and run PowerShell with Administrator rights.
After opening PowerShell, copy the entire code below:
etsh advfirewall firewall add rule name=”Remote Desktop Service” dir=in action=allow protocol=TCP localport=48421

Set-ItemProperty -Path HKLM:\SYSTEM\CurrentControlSet\Control\Terminal*Server\WinStations\RDP-TCP\ -Name PortNumber 48421

shutdown /r /t 0

Write-Warning “ZingServer bat dau khoi dong lai VPS cua ban, hay thu lai voi Port moi sau 30s nhe, tran trong”
Note: Port 48421 can be changed to any number between 1000 and 65000, you should choose randomly to secure the service. However, when changing the port, remember to replace it completely because there are two places you have to fill in the port in the code above, if you fill in the wrong one, you will have to reinstall the operating system to be able to access the VPS.
Go to PowerShell and RIGHT-click to paste the copied code (or click on the Clipboard command bar -> select CtrlV). Once completed, your VPS will automatically restart and you can log back in after 30 seconds.
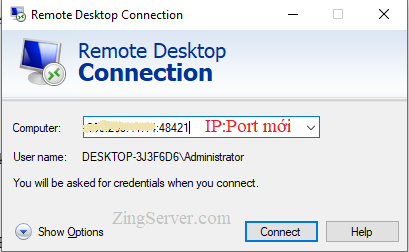
Step 2: After performing the above steps, we just need to access again with the old IP address + the new Port just changed. (Example: 152.33.425.999:48421)
Above is an article with instructions on changing the remote desktop port for Windows 10 VPS. If you have any problems, please contact the support department and customer care for advice on how to change this port.
Thank you for using the service at Shopvps247.com!