ShopVPS247.com – Providing genuine cheap VPS
Installation instructions
Software download link: RDC v2.7
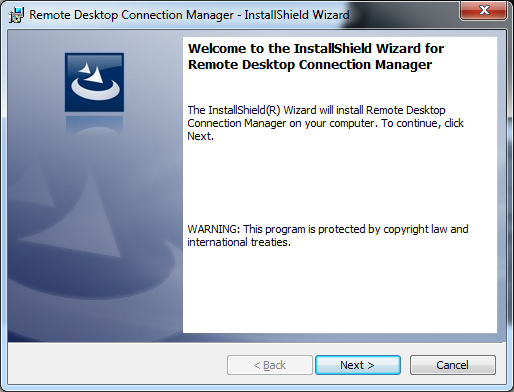
After downloading, click on the file to proceed with the installation according to the instructions below, click next on the window that appears.
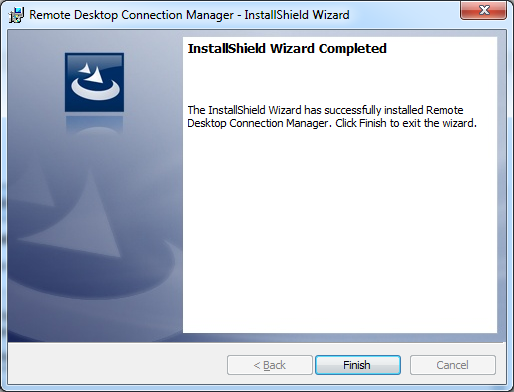
So now you have finished installing Remote Desktop Connection Manager.
Using Remote Desktop Connection Manager software
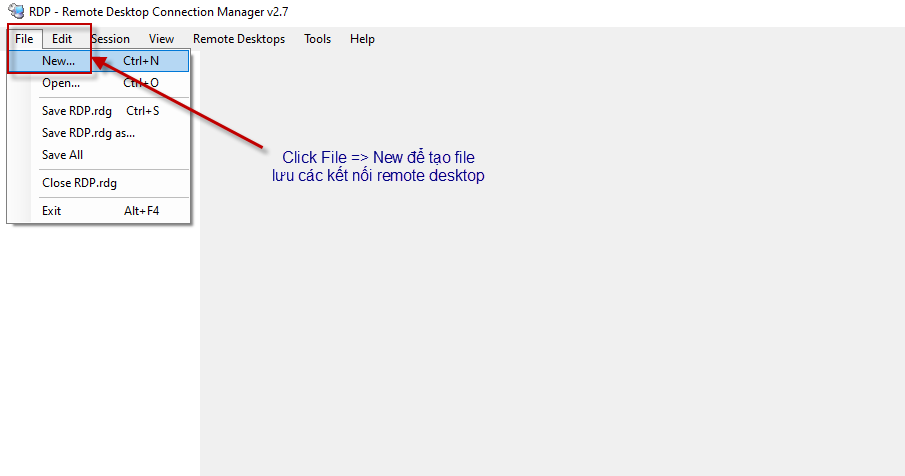
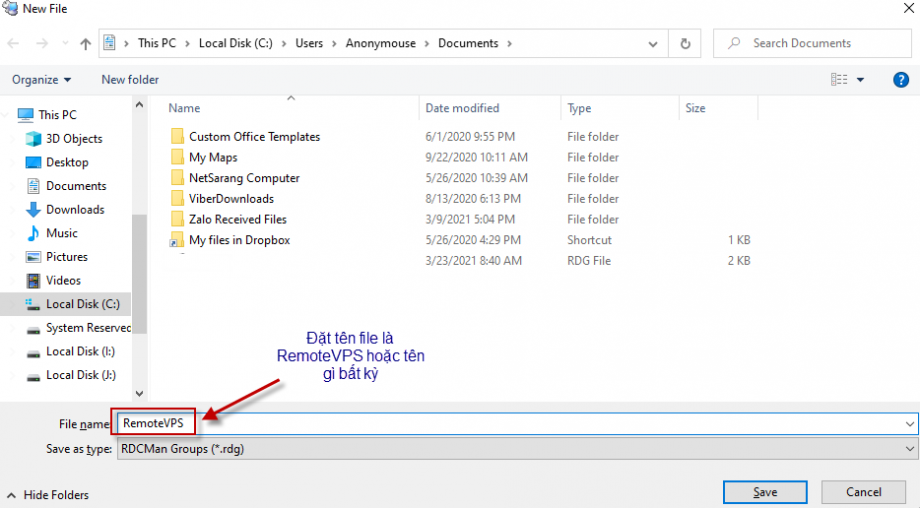
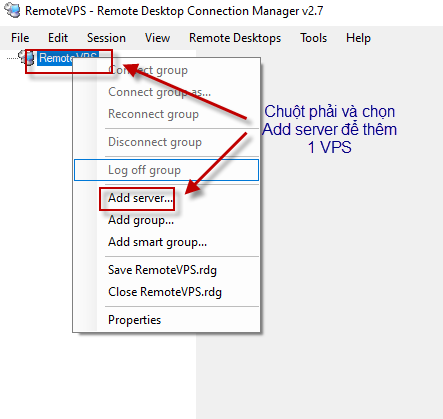
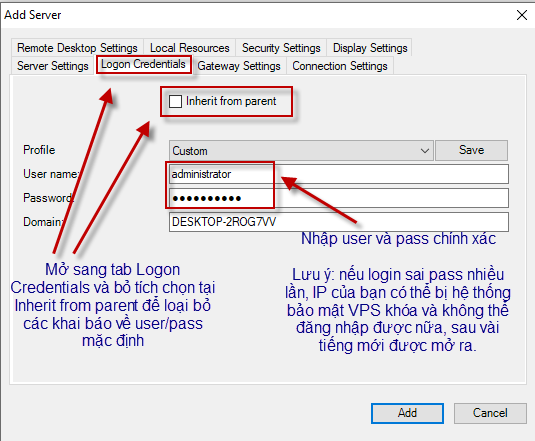
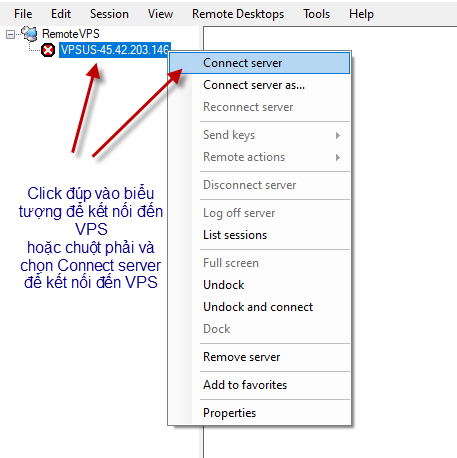
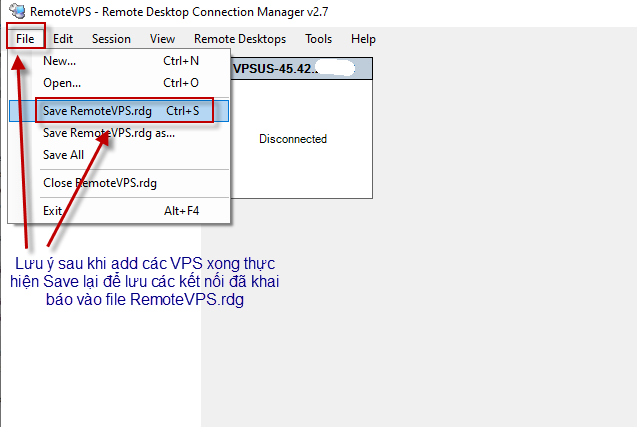
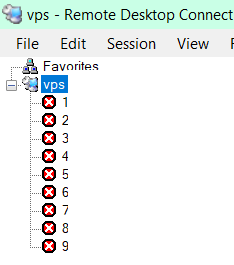
In the main window of the software, select File => New to create a file with the .rdp extension containing the remote declarations of the future servers.
Note: This created file is very important, later just copy this file to other computers to be able to open all previously declared VPS. (On other computers you just need to re-enter the VPS password to be able to use)
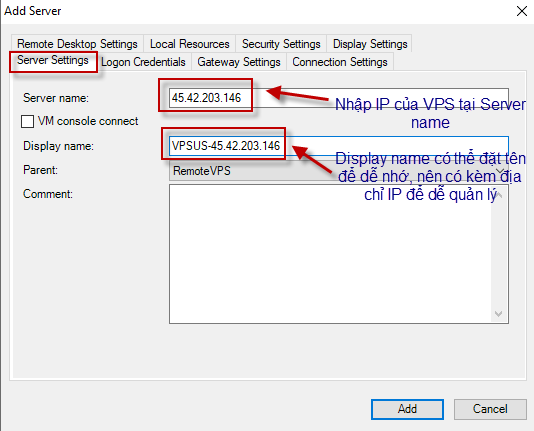
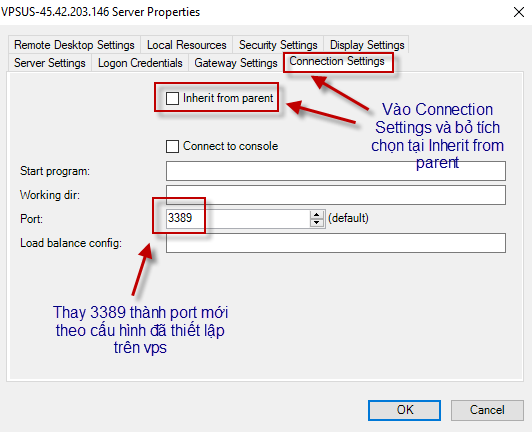
Declare port for VPS
In case VPS does not use the default port (3389) , go to the Connection Setting tab to adjust the connection port as shown below and click OK.
Note: Only change the port format for VPS that has changed the remote port
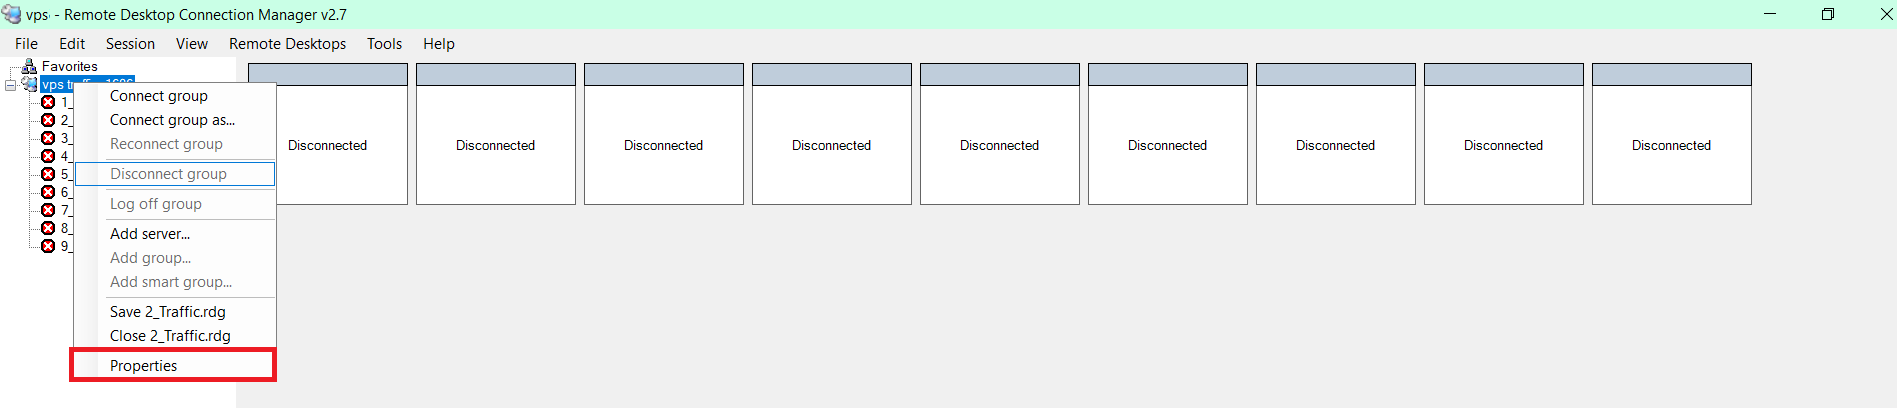
Instructions for adjusting VPS screen to show full content
Note: Please log out of all running VPS.
Step 1: Right click on Group Server (VPS)
Step 2: Click Properties
Step 3: Click on Remote Desktop Settings
Here you select Same as client area and click OK then log back into VPS.

Thank you for using the service at Shopvps247.com!