ShopVPS247.com – Providing genuine multinational vps
* You can upgrade the Cloud VPS image at Shopvps247.com in the following ways:
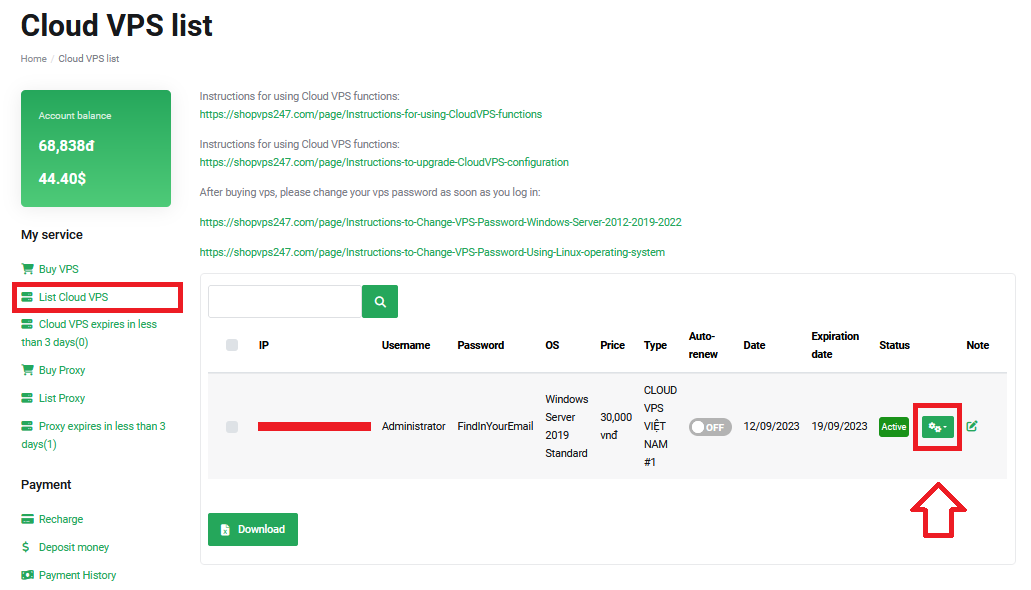
Step 1: Click on My Service
Link: https://shopvps247.com/profile/vps
Step 2: Click on List Cloud VPS
Step 3: Click on Icon Setting
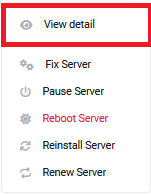
Step 4: Click View detail
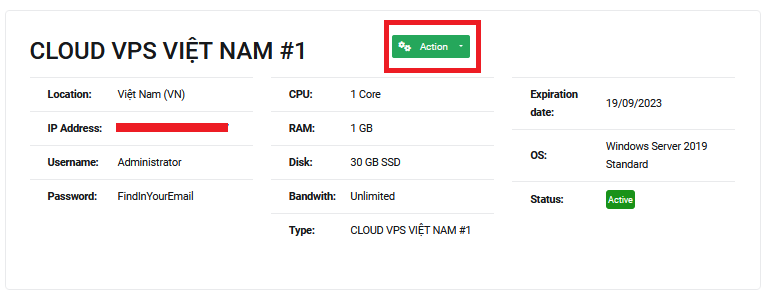
Step 5: Click on Action
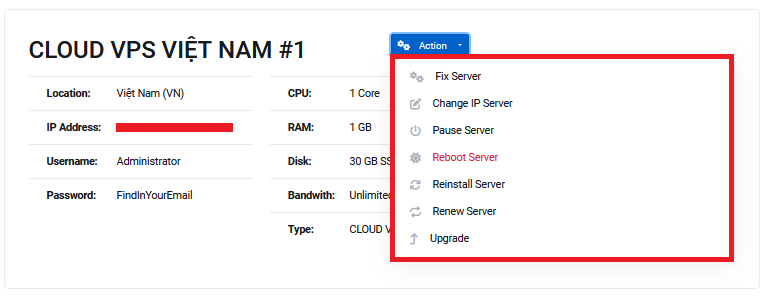
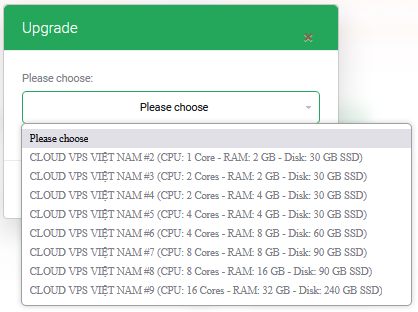
Step 6: Click on Upgrade
* You can only upgrade the vps configuration in the same currency as when you bought the vps.
If you buy VPS with USD($), when upgrading the vps configuration, please use USD($) to upgrade the vps configuration.
- Currently Shopvps247 only supports upgrading the vps configuration to the next available plan levels.
* After upgrading the vps configuration, please wait 3-5 minutes for the vps upgrade to complete.
* After upgrading the vps configuration successfully, please check the vps configuration by:
Step 1: Log back in to the vps you have upgraded the configuration
Step 2: Right-click on the Taskbar and select Task Manager
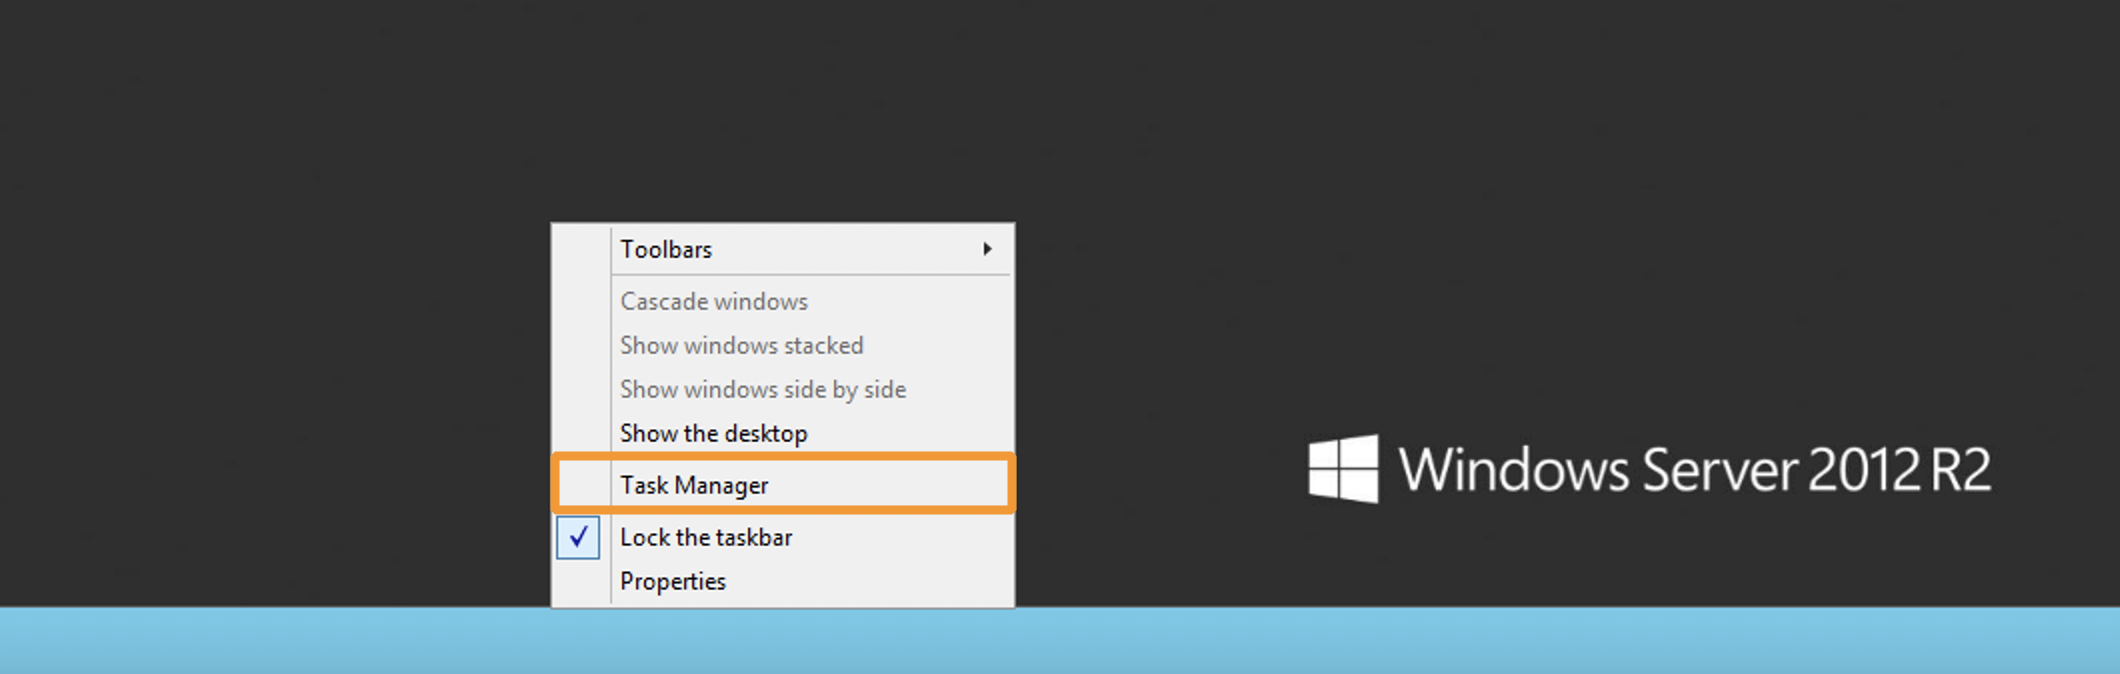
Step 3: Click Performance and check the configuration information of the vps
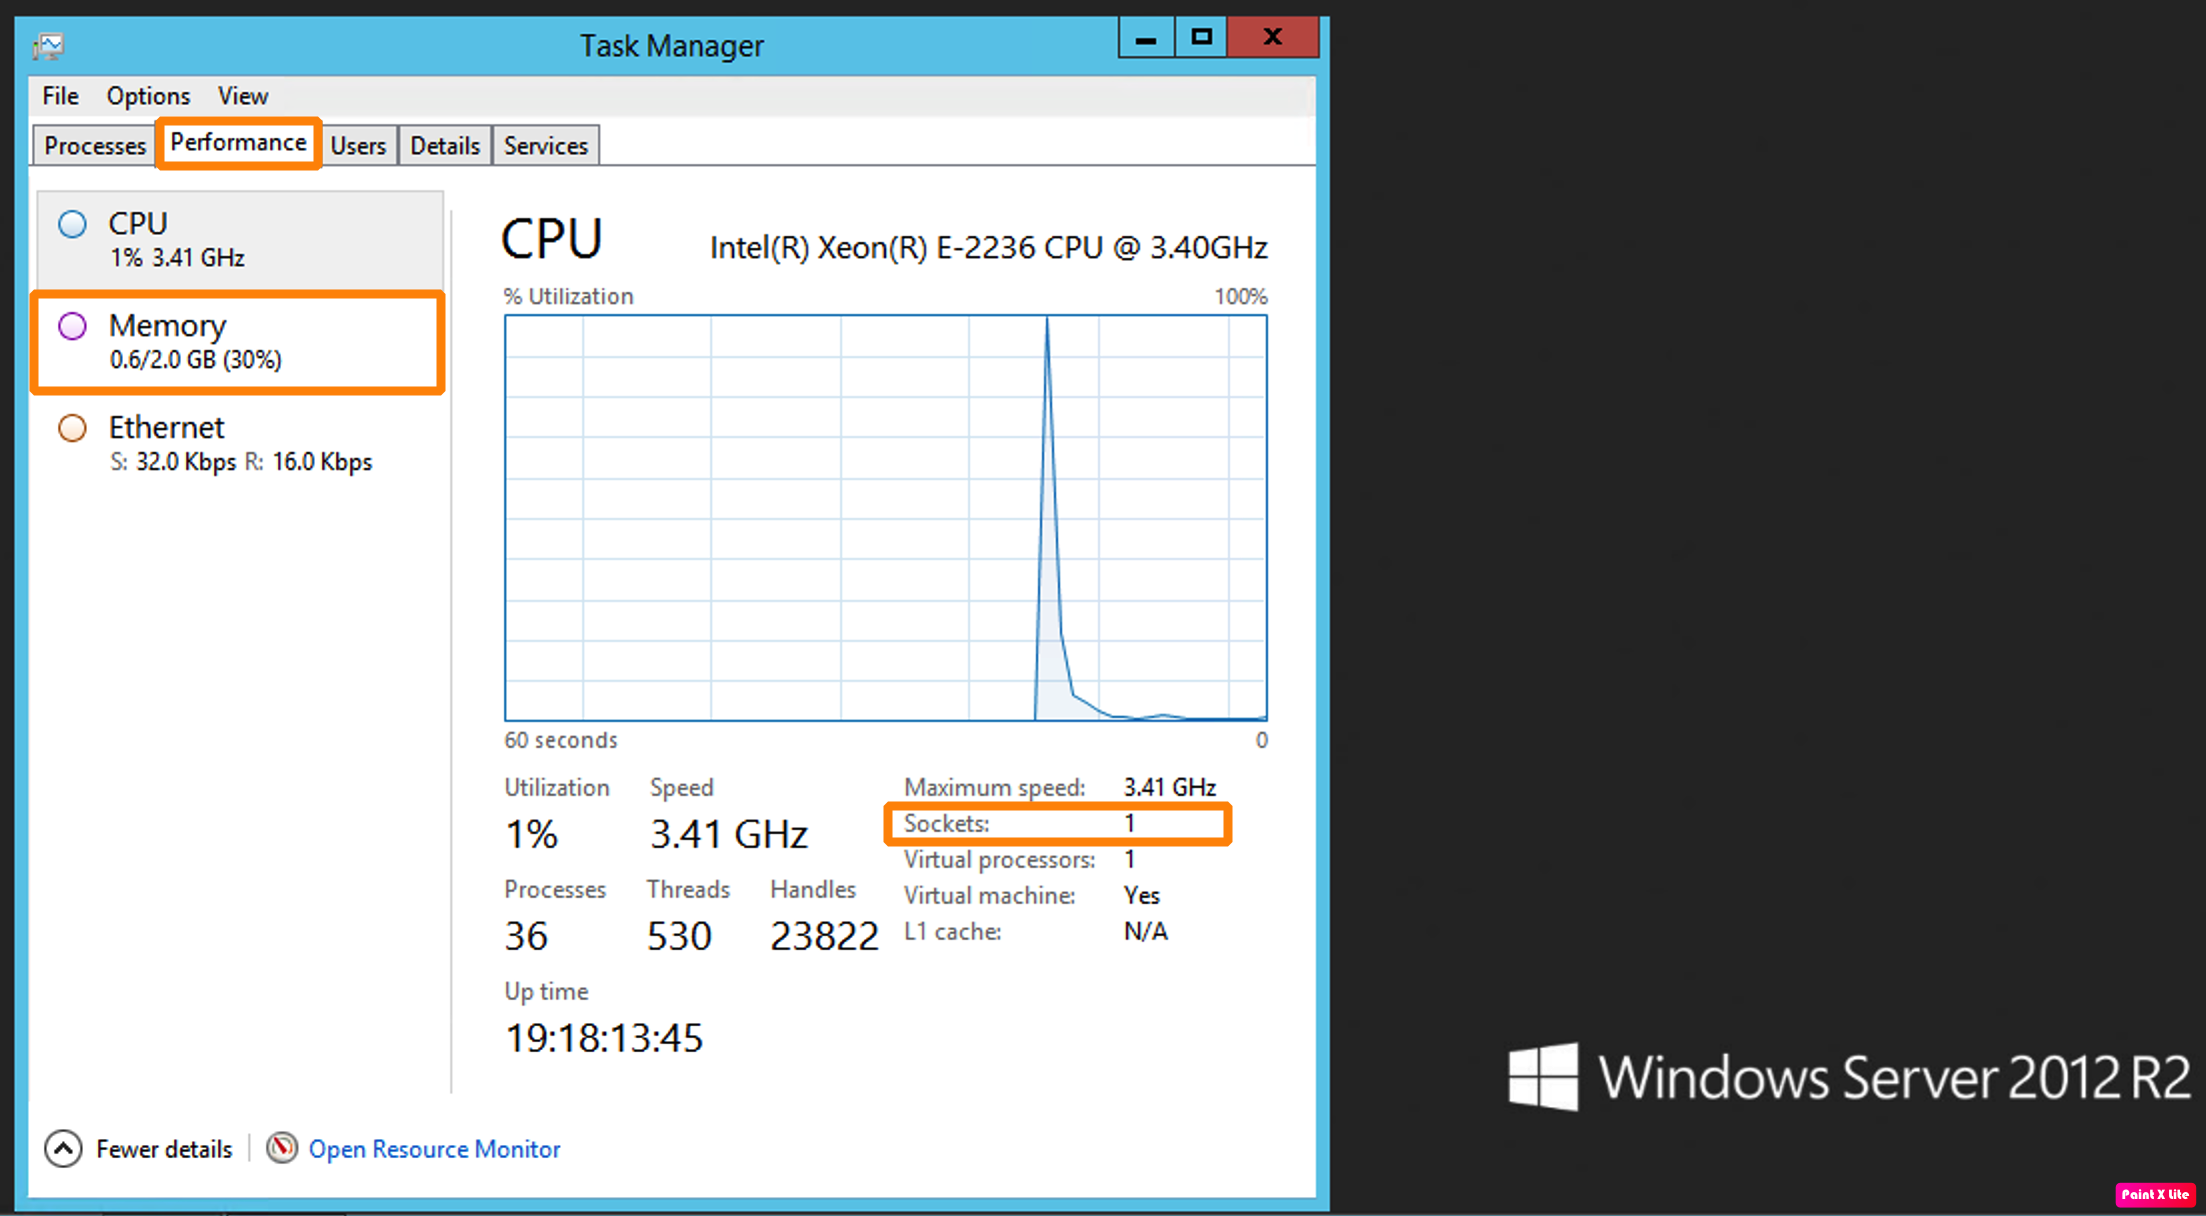
* If the VPS information after upgrading is not correct with the purchased configuration, please contact Shopvps247 for support.
* Contact Info:
- Telegram: @shopvps247
- Chat box
Thank you for using the service at Shopvps247.com!